How to Hemstitch
|
Hemstitching is the process of sewing holes around the perimeter of fabric. Many people enjoy hemstitched baby blankets, burp cloths, bibs, as well as bed linens and pillowcases. Hemstitching is a great way to create holes into a fabric for the purpose of crocheting through the holes to create a beautiful edging pattern. Hemstitching is typically done on cotton fabric, with flannel being the most popular for baby items. It is also seen on fleece. Use the Sharp Crochet Hook to easily crochet through fabric. It easily glides through fabric or paper, no need to prepoke holes. There are four ways to hemstitch:1. Use a commercial hemstitching machineHemstitching machines were popular in the 1920s-1930s. They were typically used to embellish handkerchiefs, table cloths, and bedspreads. Hemstitching machines today are hard to find and sell for over $2,000. This is what a hemstitch looks like when done by a commercial hemstitch machine: 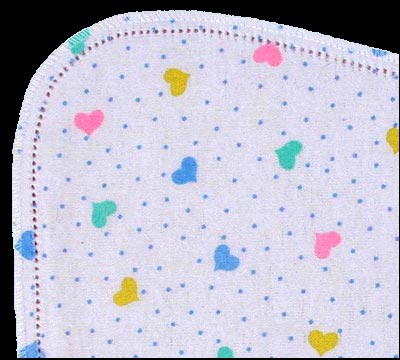
Commercially hemstitched double layer flannel baby blankets usually cost about $30. The holes are sewn into the fabric around the perimeter of the flannel so you can use a normal crochet hook to crochet through the holes. You can use a size 3 crochet hook and size 3 crochet thread to crochet a base layer through the holes. 2. Hemstitch by handThere are many reasons why you might want to hemstitch by hand, but non of them include speed of finishing your project. Yes, it could be fun, inexpensive, and look great, but it will take a long time to sew each stitch by hand. Basically, you will take a needle and thread, and make several holes along the perimeter of your fabric by wrapping a few strands of thread from the fabric with the thread on your needle in a few different directions until a hole is created. There is a great tutorial on how to do this, just click on the picture. 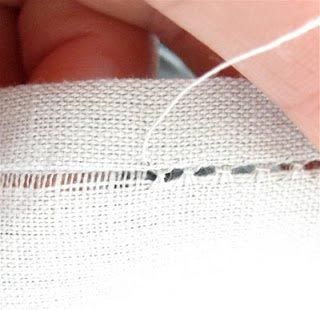
3. Use a wing needle on your sewing machineThis is an easy way to create a hemstitch because the materials required are probably things that a sewer already has. Just swap the normal hook on your sewing machine for a wing needle. Choose a sewing function that has the needle going through the same spot several times, and sew away. If your fabric is light weight, you will need to use a lightweight stabilizer so it doesn't get caught down in the needle plate. This could look great, but getting the tension on your residential sewing machines with this technique is tricky. It is a skill that is learned- you can't pull the fabric too quick or too slow. If you can get it right, it is a great way to create holes in the fabric so you can crochet through it easier. It isn't too expensive, and it is certainly quicker than hemstitching by hand! 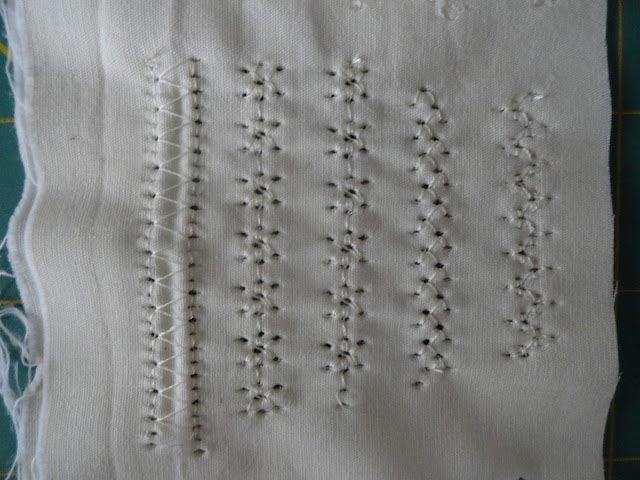
4. Skip hemstitching and crochet right through the fabricThere are a few ways you can crochet through the fabric without sewing first-
Here is what it looks like when you use a Sharp Crochet Hook to crochet right through the fabric: 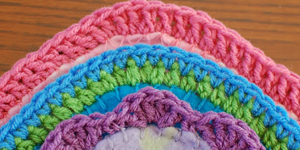
Click on the picture to get it's free pattern. |
Other Articles |